12.14.2010

catching up.

Happy holidays! Yesterday we had our first non-flurry snow of the season here in Philadelphia. So, naturally, I bundled up and hurried outside to wander around happily in the flakes.
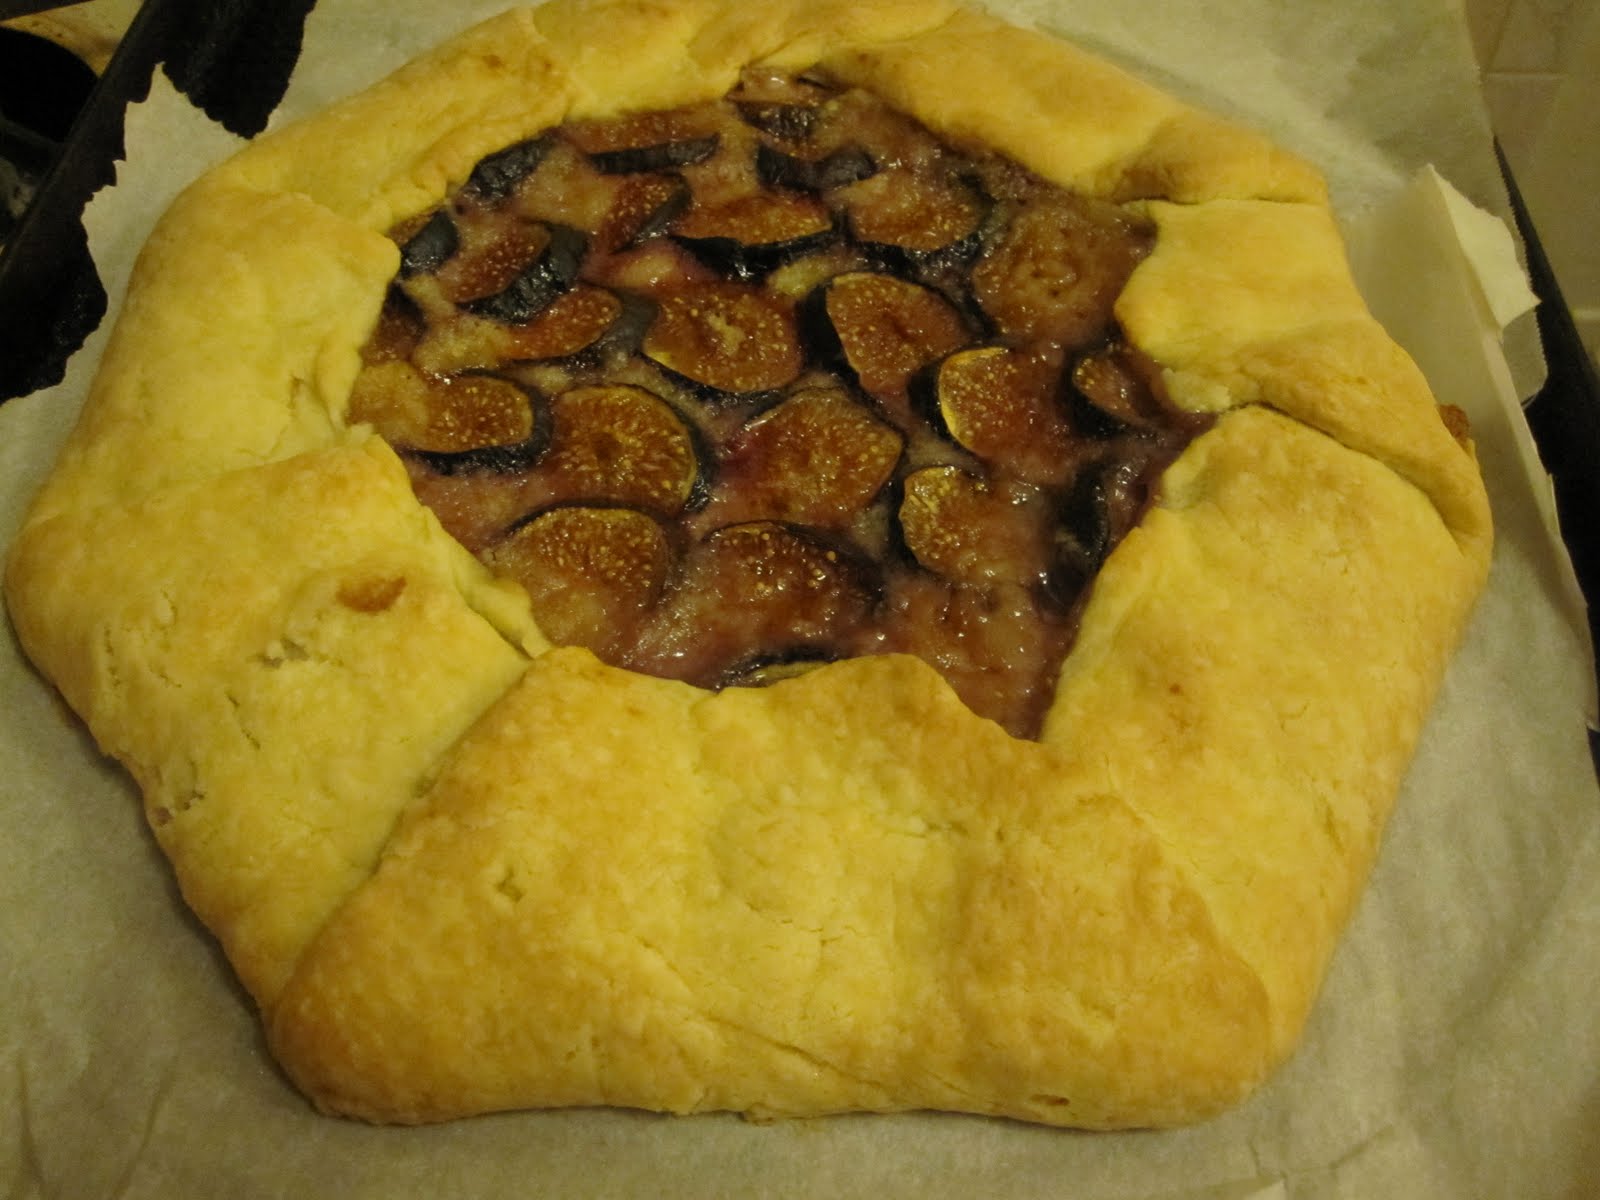
Now it really feels like Christmas is just around the corner. (As in, a week from tomorrow. Yikes.) The last month has flown by; between reading and grading, family time and friend time, I never got around to posting some of the yummy recipes I've tried. And the longer the backlog got, the more daunting catching up became. So I'm listing them, with some photos and links, in order to share a few things from the past several weeks.

J.'s Birthday Dinner
Gougères (from Barefoot in Paris)

Red Velvet Cake

Woody Allen Movie Night
Chocolate Ricotta Cupcakes

D.'s Now-Famous Cornish Game Hen Dinner
Dinner in its full glory.
M.'s onion tart. Yum.

Apple Tart Cake

Thanksgiving
Cheddar Leek Muffins

11.09.2010

comfort pasta.

I've been on a baking kick recently - following minute directions with the belief that doing so will lead to something delicious is soothing to me. But there's been some cooking too, like this pasta that is well-suited to plentiful farmers' market greens and crisp fall evenings. I loved the combination of the chard, olives, feta, and garlic; it also made great leftovers because the flavors had a chance to meld.


I used French feta at the suggestion of the Nice Cheese Man (or rather, one of the Nice Cheese Men) at DiBruno's; it's creamier than Greek feta and melted into the pasta beautifully. Because I was having such fun at the cheese counter, I also got some Cabra La Mancha (a semi-firm goat's milk cheese from Firefly Farms with, according to its label, a "tart flavor up front and a lightly meaty, savory finish") to go with sourdough bread and a mammoth Asian pear, sliced thinly, to start with. All in all, a very satisfying meal for three very tired grad students.


Spaghetti with Chard and Olives
from Gourmet (Nov. 2008), via SmittenKitchen

1/3 c. olive oil
1 head garlic, cloves peeled and thinly sliced lengthwise
1 med. onion, finely chopped
2 lb. Swiss chard, stems and center ribs finely chopped and leaves coarsely chopped separately (*The original calls for green chard; I used rainbow and loved the color and taste.)
1/2 c. water
1 lb. spaghetti
1/2 c. Kalamata olives, slivered
6 oz. feta, crumbled (1 1/2 c.)

[Serves 4-6]


1. Heat oil in heavy skillet until it shimmers, then cook garlic, stirring, until golden - about 3 mins. (I got sidetracked and let my garlic chips get a bit too brown. Oops.) Use slotted spoon to transfer garlic to plate lined with paper towels.

2. In oil that remains in skillet, cook onion until softened, stirring occasionally, 3-5 mins.

3. Stir chard stems and water into onions; add salt and pepper. Cook, covered, over med. heat about 5 mins., until almost tender. Stir in chard leaves, cover, and cook about 5 mins. more, until stems and leaves are tender. (*I find a pair of tongs very helpful for stirring bulky greens like this.)

4. Cook spaghetti in boiling salted water until al dente. Reserve 1 c. cooking water and drain spaghetti. (*I forgot this step. The greens mixture created its own liquid, though, so it didn't seem to matter that much.)

5. Toss spaghetti with chard mixture, olives [and 1/2 c. cooking water]. Season with salt and pepper if necessary. Serve topped with garlic chips and feta.

11.02.2010

halloween treats.

I tend to get a lot more excited about holidays like Christmas than I do for Halloween. I didn't dress up this year; after last year's Joan Holloway, nothing seemed quite as fun. However, a handful of us did band together to brave a 70s-scary-movies night, featuring Carrie and The Omen. Good friends, good beer, good snarky commentary on the movies. Plus, a good excuse to try a few new recipes: applesauce cupcakes and molasses cookies with lemon glaze. And though these treats weren't spooky, they were autumnally yummy.

Applesauce Cupcakes with Cinnamon Cream Cheese Frosting
from SmittenKitchen, adapted slightly


This recipe is actually for a 9" square cake; because I a) don't own a square cake pan and b) thought cupcakes would be fun, that's what I did. The recipe makes about 14 cupcakes, and there's plenty of frosting for all of them.

I'm a little bit addicted to making applesauce at the moment, so this was the perfect use for a jar. Plus, this cake is quite delicious.

For the cake:
2 c. all-purpose flour
2 tsp. baking powder
1/2 tsp. baking soda
1/2 tsp. salt
3/4 tsp. cinnamon
1/2 tsp. ground ginger
1/8 tsp. ground cloves
1/2 c. (1 stick) unsalted butter
3/4 c. packed light brown sugar (*the original calls for 1 c.; I found 3/4 sufficient)
1 tsp. vanilla extract
2 eggs
1 1/2 c. unsweetened applesauce
zest of 1/2 lemon

For the frosting:
5 oz. cream cheese, softened
3 tbsp. unsalted butter, softened
1/4 tsp. vanilla extract
1 c. confectioners' sugar
1/2 tsp. cinnamon

1. Preheat oven to 350F; line cupcake pan with paper liners. (*This cake is quite moist, so I used paper inside foil liners to avoid sogginess.)

Make cake:
2. In small bowl, combine flour, baking powder, baking soda, salt, and spices.

3. With an electric mixer, beat butter, brown sugar, and vanilla at high speed until fluffy, about 2-3 mins. Add eggs one at a time, beating well after each addition, then add applesauce and zest and beat until combined.

4. At low speed, add flour mixture until just combined. The batter will look curdled, but that's ok.

5. Distribute batter into cupcake tins, filling about 3/4 full. (You'll have some left over; bake the rest after the first batch is done.) Bake until a toothpick comes out clean, about 25 mins. Cool on wire rack.

Make frosting:
6. Beat cream cheese, butter, and vanilla mixture at high speed until fluffy. Sift confectioners' sugar and cinnamon on top, then beat at medium speed until incorporated. Spread frosting on cooled cupcakes.


Chewy Molasses Cookies with Lemon Glaze
from TheKitchn


Yum. I really liked the combination of the dark molasses cookies with the tart lemon glaze. The recipe makes about 3-4 dozen (sometimes I get overly enthusiastic and end up with larger cookies) and they last fairly well for a handful of days, which is nice.

For the cookies:
1/2 c. (1 stick) unsalted butter, very soft
1/4 c. vegetable oil
1/4 c. dark molasses
3/4 c. brown sugar, packed (*the original calls for 1 c.)
1 egg
2-inch knob of fresh ginger, peeled and finely grated
2 1/4 c. flour
1/2 tsp. salt
2 tsp. baking soda
1 tsp. cinnamon
1 tsp. ground ginger
1/8 tsp. freshly-ground black pepper
granulated sugar, for rolling

For the glaze:
2 lemons, juiced (about 1/4 c. fresh lemon juice)
1/3 c. granulated sugar
1 c. confectioners' sugar

Make the cake:
1. Preheat oven to 350F and line two baking sheets with parchment paper.

2. With a stand mixer, beat butter, oil, molasses, and brown sugar until lightened and fluffy. Then beat in egg until smooth, then add the grated ginger.

3. In a small bowl, combine the flour, salt, baking soda, and spices; add to butter mixture and mix at low speed until combined. The dough will be quite soft; turn it out onto plastic wrap and wrap it tightly, then refrigerate for at least an hour. (*The original recipe says to refrigerate for at least 1/2 hour. I had the dough in the freezer for 45 mins. and it was still quite soft in the middle, almost unmanageable.)

4. Pour about 1/2 c. granulated sugar into a shallow bowl. When the dough is firm enough to handle, divide it into four parts. Divide the first part into 12 walnut-sized chunks and roll each into a ball, rolling the balls in sugar before placing them on the prepared baking sheet. Repeat for the second quarter of dough.

5. Bake for 12 mins., rotating the sheets halfway through. Remove from oven and let cool 5 mins., then transfer cookies to wire rack and repeat rolling and baking process for the rest of the dough.

Make the glaze:
6. When the cookies are cool, whisk together the lemon juice and sugars. Dribble over the cookies with a fork or a pastry brush; let glaze cool and dry until hard.

10.23.2010

pumpkin pie pop tarts.

I've been basking in the fall weather; the return of crisp mornings and wool scarves puts me in the mood for afternoon walks, pumpkin beer, pumpkin anything, candy corn, butternut squash, and crafty projects. (I'm working on one now and have the sandpaper scrapes to prove it. You'll see it soon.) So when these Pumpkin Pie Pop Tarts came up recently on Joy the Baker, they jumped straight to the top of my to-try list.


The weather also propels me into high stock-up-for-winter mode, which means I've been making my very own applesauce for the first time. I've been making it for years with my mom in the same creaky food mill; after I received one of my very own last year for Christmas, I decided to stock up on my own supply. I used about 9 pounds of apples from my favorite market stand: mostly Cortlands, with a few each of Granny Smith, Gala, Jonahgold, Empire, Mac, Golden Delicious, and Fuji. Quartered, they cook cook down with a bit of water in a big pot, then go through the food mill to remove skins, seeds, and stems, then get flavored with the juice of a lemon, about a tablespoon of sugar, and several generous shakes of cinnamon. And that's it! So delicious-smelling! So addictively satisfying! I've made two batches so far.


But I digress. I decided to break out the pop tarts for a pre-Mad Men-season finale dinner last weekend. J. made pasta all'amatriciana (spicy! yummy!), M. made roasted butternut squash, and Viola guarded the wine.


The pop tarts were quite good and, as a bonus, they travel very well. Joy the Baker's original recipe calls for a maple glaze, but I was afraid of sickening sweetness. (Also not a huge fan of maple-flavored things.) As it turns out, these tarts are quite rich enough on their own. I might serve them with a bit of whipped cream, flavored with almond extract, maybe, or vanilla ice cream for something decadent. I found it a bit fiddly to roll out the dough into rectangles of a certain size, in part because of my lack of patience/counter space; I might use a circular cookie cutter (I know, pop tart sacrilege!) next time to avoid the hassle. I did like the pretty crimped edges I got from using my pastry cutter. Overall, these were rich, autumny, and cute to look at. If I were grading them, they'd receive a distinguished pass in all four categories. (If you don't know what I'm talking about, congratulations. If you do, well, I'm sorry. Make these. They're a good procrastination tool.)


Pumpkin Pie Pop Tarts
adapted from Joy the Baker

Crust:
2 c. all-purpose flour
1 tbsp. sugar
1 tsp. salt
1 c. (2 sticks) unsalted butter, cold, cut into cubes
1 egg
1 tbsp. milk
1 egg, beaten (for egg wash)

Filling:
3/4 c. pureed pumpkin
1 egg
1/8 tsp. ground cloves
1/4 tsp. ground ginger
1/2 tsp. cinnamon
1/4 tsp. salt
2 tbsp. brown sugar (*The original calls for 1/3 c. white sugar.)

Make crust:
1. In food processor, pulse flour, sugar, and salt until combined. Add butter and pulse until mixture is coarsely blended, with no butter larger than a small pea.

2. In small bowl, whisk together egg and milk. Add mixture all at once to flour mixture and pulse until combined and mixture comes together into a ball. (You could also do these two steps with a bowl and your fingers or a pastry cutter.)

3. Lightly flour clean countertop; turn out dough and knead a few times until it comes together. Divide dough in two and wrap each flattened ball in plastic wrap; refrigerate for about 30 mins.

Make filling:
4. In small saucepan, heat pumpkin and spices just until spices are fragrant. (*Really, you could probably omit this step.) Remove from heat and place pumpkin mixture in med. bowl. Whisk in egg, sugar, and salt. Put in fridge while you roll out the dough.

Assemble tarts:
5. On well-floured work surface, pat one ball of dough into 3x5" rectangle, then roll it out to about 1/8" thickness. You should have a rectangle slightly larger than 9x12"; trim edges with a pizza or pastry wheel to 9x12" exactly. Then cut each side into 3 sections, creating 9 rectangles. Place these in the fridge while you roll out the other ball of dough in the same way.

6. Brush one set of 9 rectangles with beaten egg. (This forms a glue for the top layer.) Spoon about 1 tbsp. of filling onto the middle of each rectangle; spread slightly. Top with another dough rectangle and crimp edges closed with a floured fork. Use fork to create vent holes in top of tart.

7. Preheat oven to 350F; let tarts rest in fridge while oven heats. Bake for 25-30 mins., until golden brown on top. Remove tarts from pan and let cool on wire rack. [Glaze optional; recipe here.]

10.17.2010

s'more pie; or, adventures with the broiler.

If I don't see a saltine again for about 18 months, that would be fine. I spent last week with a beast of a stomach flu. It was bad. Reading-my-favorite-food-blogs-was-too-much-for-me-to-handle bad.

Thankfully, though, I'm on the mend and gleefully returning to my kitchen. Starting with this: S'more Pie from SmittenKitchen, adapted in turn from Gourmet. I glumly tucked this recipe away in my bookmarks back in the summer, knowing that I'd need a far cooler kitchen to attempt made-from-scratch marshmallow topping. Fall weather, you are so very welcome.

This pie was quite tasty. It was also perhaps the most pathetic-looking dessert I've ever produced. You see, the recipe called for the pie to be browned in the broiler, but I've always been intimidated by the broiler drawer of my oven (I had the same model in my old apartment, too). That's why I own a culinary torch. Alas, my torch was out of gas. I really wanted an authentic browned topping on the pie, though, so I decided to brave the dreaded broiler drawer. How bad could it really be? Well ... behold:


That's right. My beautiful pristine marshmallow topping turned into THAT. It went something like this:

[After the pie has been in the broiler drawer for about a minute.]

A. sniffs. "Hmm, it smells like maybe it's browning too quickly." Casually strolls to oven; slides out drawer and sees disaster; wails. Remembers over-active smoke detector and runs into bathroom [knows from experience that this is the only room without a smoke detector] clutching pie and calling out, "Trivet! Trivet!" Slams door and turns on bathroom fan.

K. knocks on bathroom door with a trivet.
A. and K. leave pie on bathroom floor with fan running, emerge to find M. standing on armchair waving a pack of mailing envelopes in front of smoke detector and D. vigorously swinging apartment door back and forth in an effort to clear the air. [A.'s wonderful friends are experienced at smoke-alarm evasion.] Alarm averted. Pie is still served up in the bathroom.


As it turned out, the blackened topping was kind of delicious - burnt marshmallow! Very authentic. And although I'm never ever attempting to use my broiler in the future, I'll be making this again. Or should I say, s'more?


Blue sky reflected in shiny chocolate filling. Mmm.

S'more Pie
adapted very slightly from smittenkitchen, adapted from Gourmet (Nov. 2006)

Crust:
5 tbsp. butter, melted
10 graham crackers, finely ground (~1 1/2 c.)
1/8 tsp. salt

Chocolate filling:
7 oz. bittersweet or dark chocolate, chopped finely
1 c. heavy cream
1 egg at room temp.
pinch of salt

Marshmallow topping:
1 tsp. unflavored gelatin
1/2 c. cold water
3/4 c. sugar
1/4 c. light corn syrup
1/2 tsp. vanilla

Make crust:
1. Preheat oven to 350F. Lightly butter a 9" or 9.5" pie plate. Stir together crust ingredients in bowl, then press evenly over bottom and up sides of pie plate. (*I find that a small bowl with roughly parallel lines helps to make the sides secure.) Bake until crisp, 12 to 15 mins., then cool to room temp., about 45 mins.

Make filling:
2. Bring cream just to a boil in heavy saucepan, then remove from heat, add chocolate to pan and let stand for 1 min. Gently whisk until chocolate is melted and mixture is smooth. Gently whisk in egg and salt until combined, then pour into cooled crust. Cover edges with foil and bake about 25 mins., until mostly set but center wobbles slightly when shaken. (It will firm up as it cools.) Cool pie on rack until room temp., about 1 hour.

Make marshmallow topping:
3. Stir together sugar, corn syrup, pinch of salt, and 1/4 c. water in heavy saucepan. Bring to boil over moderate heat, stirring until sugar is dissolved. Boil for about 6 mins. or until candy thermometer reaches 260F. (*I don't have a candy thermometer, so I boiled it for about 6 mins. This may not have been quite enough for entirely firm marshmallows but it worked out fine.)

4. Sprinkle gelatin over remaining 1/4 c. water in bowl of KitchenAid mixer with whisk attachment; let stand 1 min. Then, with mixer running at medium speed, slowly and carefully (!) pour in hot syrup, avoiding whisk. When all of syrup is added, increase speed to high and beat until mixture is tripled in volume and thick, about 5 mins. Add vanilla and beat until combined.

5. Immediately spoon topping onto cooled pie; it will slowly spread out. Chill uncovered for 1 hour, then lightly cover with greased plastic wrap and chill 3 hours more.

6. Brown topping in broiler for 3 mins. (*at your own risk!) or with culinary torch. Rinse knife between cuts if necessary.

*Note: Before browning, pie can be chilled for up to one day.

9.22.2010

fig crostata.

In addition to my hand-picked batch of apples and peaches from our morning at the orchard, I ended up with a pint of beautiful fresh figs from the farmstand there. I admired them every time I opened the fridge, nibbled a few...and then realized that this leisurely approach meant I needed to use the rest of them quickly. This realization coincided with our weekly Mad Men viewing - perfect, I thought. I'll share them. I'll make a fig tart!

Well, sort of. After Epicurious turned up rather disappointing selections, I settled on this Giada De Laurentiis recipe for a fig and almond tart. I don't often remember to try her recipes, and this is really more a crostata than a tart, but it looked like an appealing experiment.

Appealing indeed! This turned out quite well. I did make some changes, including swapping out Giada's crust for the Orangette recipe that has become my standby. The result was very pretty to look at - much like Jon Hamm.


Fig Crostata
adapted from Giada De Laurentiis; crust from Orangette

Crust:
4 tbsp. ice water, plus more as needed
3/4 tsp. apple cider vinegar
1 1/2 c. unbleached all-purpose flour
1 tbsp. sugar
3/4 tsp. salt
9 tbsp. cold unsalted butter, cut into cubes

Filling:
3 1/2 oz. almond paste
1/3 c. mascarpone cheese
1 tsp. vanilla
2 tbsp. honey
around 10-12 small fresh figs, stems and bases trimmed off, sliced into 3 discs each
scant 1/4 c. apricot jam (*I warmed mine with some water to thin it, then strained it to make it smooth)


Make crust:
1. In small bowl, combine ice water and vinegar.

2. In food processor, combine flour, sugar, and salt. Pulse to blend. Add butter and pulse until mixture resembles coarse meal; there should be no pieces of butter larger than a small pea.

3. With the processor running, slowly add water-vinegar mixture, processing just until moist clumps form. If you pick up a handful of the dough and squeeze it, it should hold together. If the dough seems dry, add more ice water by the teaspoon, pulsing each time.

4. Turn out the dough onto a board or clean countertop, gathering and pressing it into a disk about 1 1/2" thick. Wrap in plastic and then press a bit more, massaging away any cracks around the edges so that you have a smooth disk. Refrigerate for at least 2 hours. (Dough can be kept in refrigerator for 4 days or frozen for up to 1 month. Thaw in refrigerator overnight before using.)

Make filling:
5. In food processor, combine almond paste, mascarpone, vanilla, and honey. Blend until smooth.

Assemble crostata:
6. On parchment or wax paper, roll out dough into an 11" circle. (You may need to let the dough sit at room temperature a few minutes so that it's soft enough to work with.) Transfer to parchment-lined baking sheet.

7. Spread the almond/mascarpone filling over the dough, leaving a 2"-3" border. Arrange sliced figs on top of almond filling, overlapping slightly. Spread/drizzle a light layer of jam on top. (I didn't use the entire amount.)

8. Fold the dough border over the filling to form an 8" round, pleating the edges gently and pinching any cracks in the dough.

9. Bake until golden, about 40 mins. Cool on baking sheet for 10 more mins., then remove tart and finish cooling on wire rack.

Viola looks disdainfully at our dessert spread: fig crostata, apple cake (C.), and lemon thyme shortbread (M.).

9.20.2010

chocolate pistachio torte.

Along with the not-pretty-but-still-yummy apple cake, I wanted something a little bit special for C.'s party. So I hunted around on various websites and through my cookbooks and eventually settled on this: chocolate pistachio torte. It's from Martha Stewart but doesn't fall prey to the fussiness that her recipes sometimes do. I did halve the sugar, which turned out to be a good decision. For the most part, though, this is fairly straightforward and quite delicious. It's one of those desserts whose presentation is more impressive than the prep work that went into it; it also got a good reception from a choosy crowd, so I'd make it again.

Dessert paparazzi.

I made the cake in the morning before we went apple-picking and then made the ganache and assembled the whole thing at M.'s. (I didn't want to get foil imprints in the pretty shiny ganache surface! I've become adept at dessert transportation on the SEPTA bus, but still.) You could probably make the cake the day before, too, and wrap it tightly.


Chocolate Pistachio Torte
adapted slightly from Everyday Food (December 2008)

Cake:
1 c. all-purpose flour
1/2 tsp. salt
1/4 tsp. baking powder
1 stick unsalted butter, cut into small pieces
8 oz. semi-sweet chocolate, coarsely chopped
2/3 c. sugar
1 tsp. vanilla
2 eggs
1/2 c. buttermilk (*skim milk + a glug of vinegar, as usual, worked fine)
3/4 c. shelled, unsalted pistachios, coarsely chopped

Ganache + Decoration:
1/2 c. heavy cream
4 oz. semi-sweet chocolate, coarsely chopped
1/4 c. shelled, unsalted pistachios, coarsely chopped


Make cake:
1. Preheat oven to 350F. Butter and lightly flour an 8" cake pan; line bottom with parchment.

2. Combine flour, salt, and b.p. in small bowl; set aside.

3. In a double boiler (*or, carefully, in the microwave), melt the chocolate and butter together until smooth, stirring frequently. Pour into bowl of electric mixer (if you're using one) and let cool slightly.

4. Whisk sugar and vanilla into chocolate mixture, then eggs and buttermilk. Stir in pistachios, then fold in flour mixture until just combined.

5. Pour batter into prepared pan and bake for 60-70 mins., until tester comes out with just a few moist crumbs. Let cool in pan 5 mins., then run knife around edges and invert onto wire rack. Remove parchment and let cake cool completely, about 3 hours. (To store, wrap tightly in plastic after cool.)

Make ganache:
6. In small saucepan, bring cream to a simmer, then remove from heat and stir in chocolate. Let stand 5 mins., then whisk until smooth and shiny. Let mixture cool until it thickens slightly. (*Martha suggests this will take 2-6 mins., but I found it closer to 20.)

Assemble torte:
7. Set cake on flat plate or platter and slip strips of parchment under the edges to prevent ganache from pooling on the plate. Pour ganache onto center of cake, then use a table knife to smooth it so that it droops over the sides. (*This part is so fun! And so pretty!) Let sit about 30 mins. (*I only left it for about 10), then sprinkle pistachios on top and serve.

So shiny! Reflecting the fruits (pun entirely intended) of that morning's labor.